Learning how to put in contacts for beginners can feel like a major milestone, but it doesn't have to be intimidating. For new wearers across Glendale Heights, the actual process is straightforward: clean hands, lens on your fingertip, and a gentle touch to your eye. It's a skill, and like any skill, a little professional guidance and practice is all it takes to master it.
Easing Into Your First Contact Lens Experience

It’s completely normal to feel a bit of nervous excitement about putting in contacts for the first time. We see it all the time with new wearers right here in our Glendale Heights optometry boutique. Honestly, it's a lot like learning to ride a bike—it feels clumsy and strange at first, but before you know it, you're doing it without even thinking.
This guide is here to help you get over that initial hump and build real confidence. We’ll walk you through the entire process, starting with the absolute essentials for keeping your eyes safe and comfortable.
Building a Foundation of Confidence
Before you even open a lens package, let's talk about the right mindset. Your eyes are incredibly sensitive, so approaching this with a focus on safety and hygiene is the only way to go. The golden rule is simple but non-negotiable: always start with a clean space and meticulously clean hands.
Getting this right from the beginning sets you up for a great experience.
- You'll lower your risk. Great hygiene is the number one way to prevent annoying irritation or, worse, an infection.
- You'll be more comfortable. A clean, debris-free lens just feels better, which makes a huge difference when you're getting used to them.
- You'll build lasting habits. The good habits you form now will help you enjoy the freedom of contacts for years.
The most important step for any new contact lens wearer is the professional fitting. It’s where your eye doctor ensures the lens material, size, and prescription are a perfect match for your unique eyes.
Why a Professional Fitting Matters
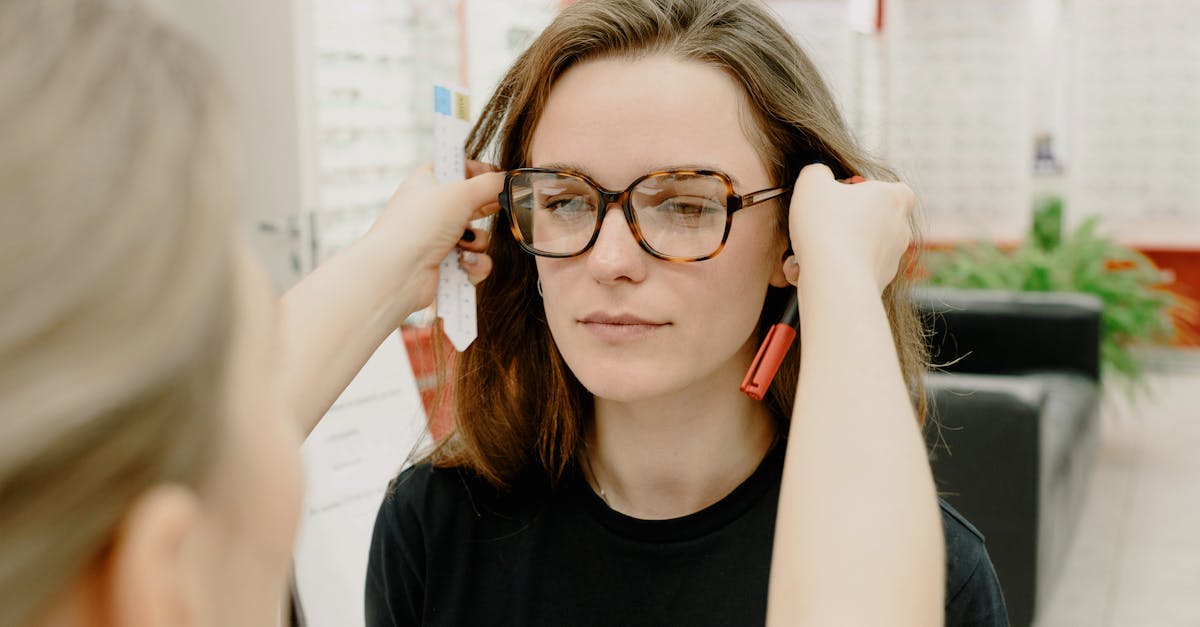
Trying to go it alone with contact lenses is a recipe for frustration. That's why the absolute best way to start is with a professional contact lens fitting in Glendale Heights. An expert optometrist, like our team at iDoctor on Bloomingdale Road, does so much more than just hand you a box of lenses.
During your fitting, we give you personalized, hands-on training so you can walk out of our office feeling completely capable. We double-check that your lenses not only sharpen your vision but also fit your eyes perfectly for all-day comfort.
If you're still on the fence, it can be really helpful to look at the pros and cons of wearing contacts to decide if they fit your lifestyle. Our goal is to take the mystery out of the process and set you up for success right from the start.
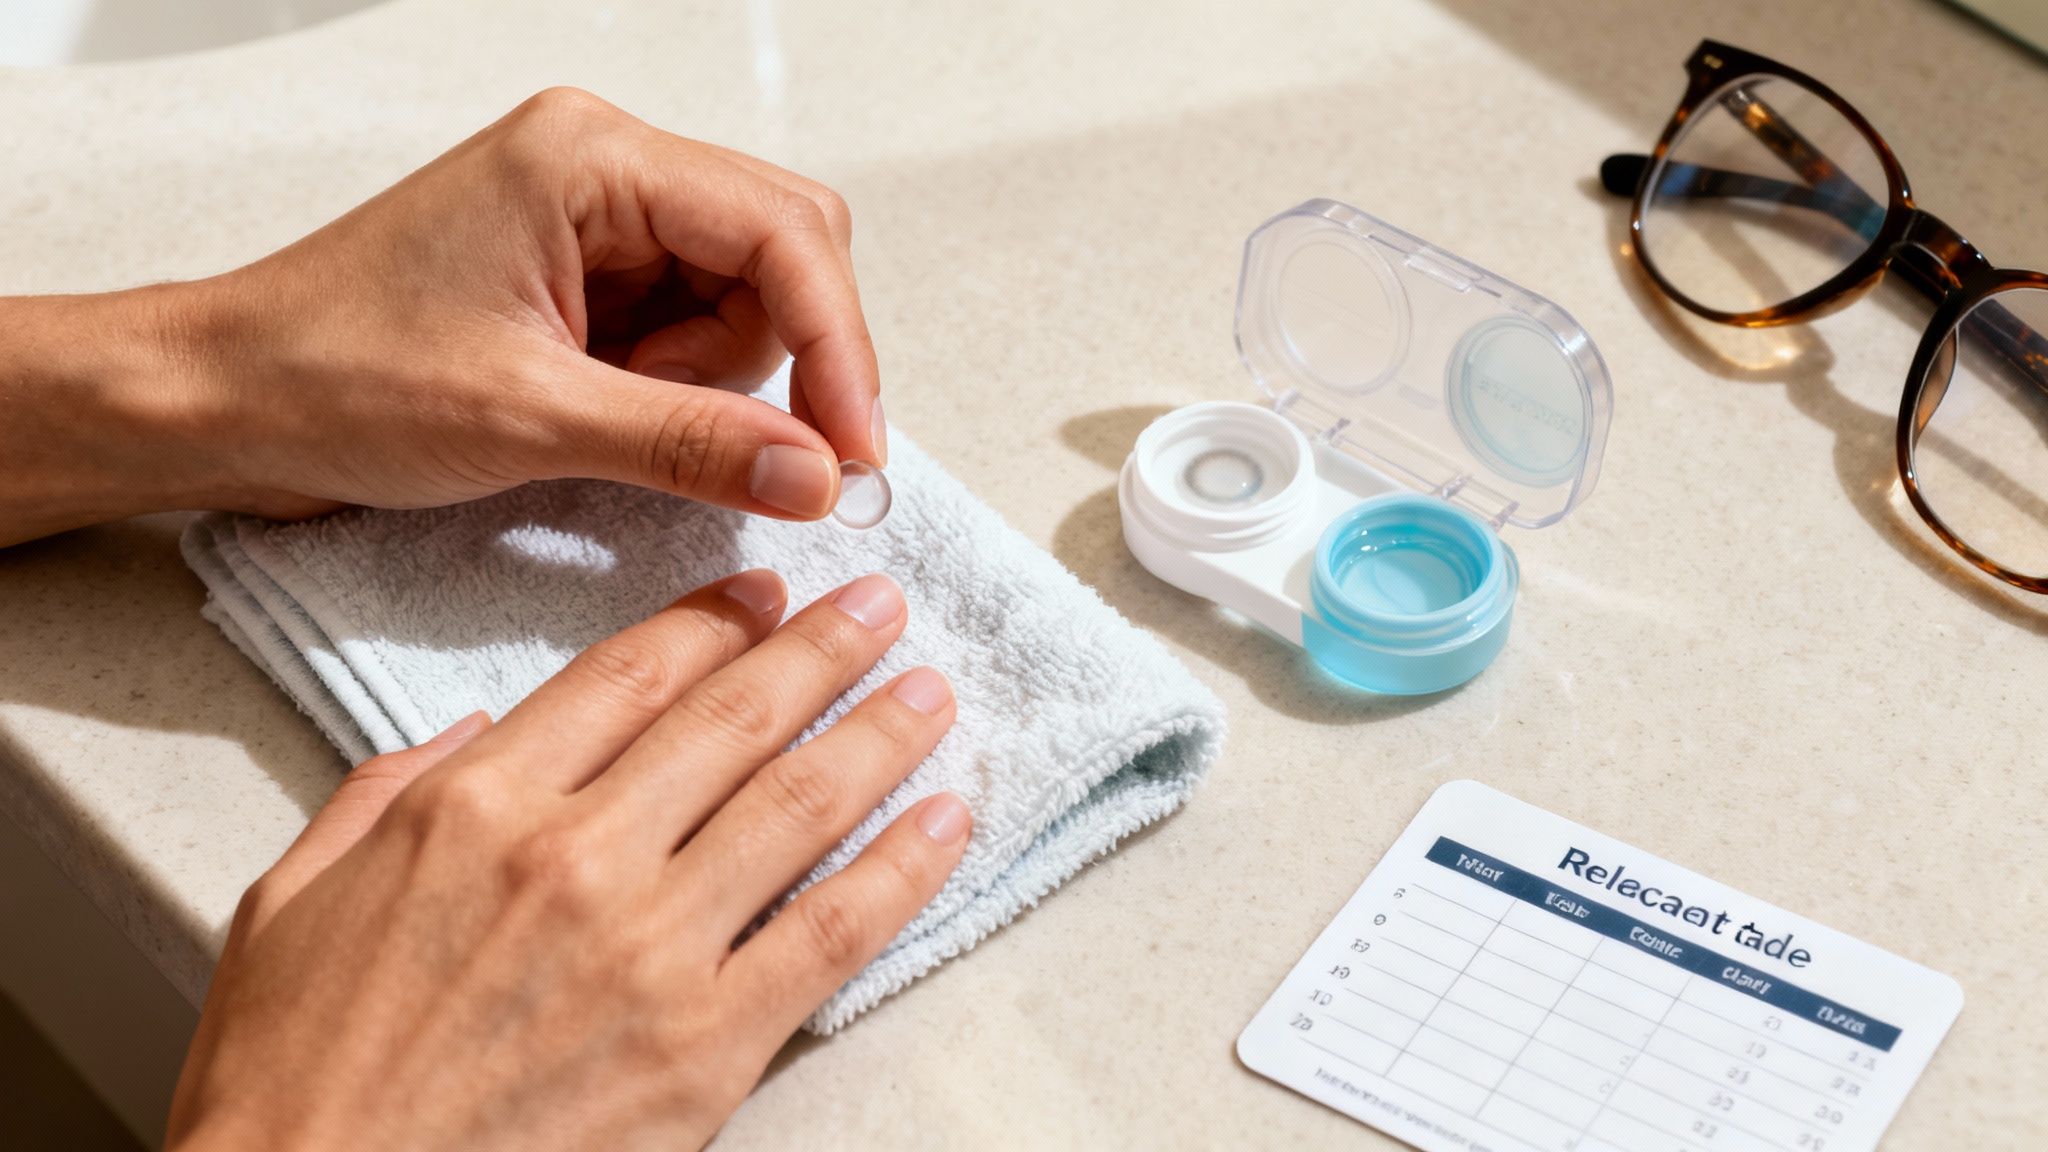
Your Pre-Insertion Hygiene Ritual
Before a contact lens even gets close to your eye, you need to have a solid hygiene routine down pat. This is the single most important step. Think of it as a non-negotiable pre-flight check for your eyes—it’s that critical. This isn't just about a quick rinse; it's about building a safe, repeatable process that prevents nasty infections and makes wearing contacts a breeze.
A consistent routine is your best defense against the most common problems people run into. For anyone just starting out, the first step is always washing your hands thoroughly. I'm not kidding—studies have shown that poor hygiene is behind up to 70% of contact lens-related infections. Once your hands are scrubbed and clean, you can pop open your lens case, which should always be filled with fresh solution.
On that note, daily disposables are a fantastic choice for beginners because they remove the whole cleaning and storage hassle. They now make up over 35% of the online market, and it's easy to see why. You can explore more insights on contact lens trends here.
Setting Up Your Clean Space
Where you put your lenses in matters just as much as how clean your hands are. Find a clean, flat surface in front of a well-lit mirror. Your bathroom counter is usually the perfect spot. Just clear away any clutter first and lay out everything you need so it’s within easy reach.
Here’s your simple checklist:
- Antibacterial, Lotion-Free Soap: Soaps with moisturizers, oils, or heavy perfumes can leave a film on your fingers. That film transfers directly to your lens, leading to cloudy vision and a ton of irritation.
- A Lint-Free Towel: A regular fluffy bathroom towel is a bad idea. It can leave tiny, invisible fibers on your fingertips that get trapped under your lens—and trust me, you'll feel it. Microfiber towels or even plain paper towels are much better choices.
- Your Lens Case and Fresh Solution: Have these open and ready to go. You want to minimize fumbling around once the delicate lens is balanced on your fingertip.
This simple setup takes the stress out of the process. It turns what feels like a tricky procedure into a calm, controlled part of your day.
Key takeaway: Never, ever use tap water to rinse your lenses or your case. Tap water isn't sterile and contains microorganisms that can cause very serious eye infections. Stick to the sterile contact lens solution your optometrist recommended.
The Dangers of "Topping Off" Solution
I see this all the time, and it's a huge mistake. It can be tempting to just add a little fresh solution to the old liquid already in your case, but this is a major risk. Old solution quickly loses its disinfecting power and becomes a breeding ground for bacteria.
Always dump the old solution out completely. Rinse the case with fresh solution—not water!—and let it air dry upside down on a clean tissue. This small habit makes a massive difference in keeping your eyes healthy.
For more expert advice, check out our guide on how to prevent common contact lens infections, which offers detailed tips straight from our Glendale Heights optometrist. By making these hygiene steps an automatic part of your daily routine, you set yourself up for a comfortable and positive experience with your new lenses.
A Practical Guide to Inserting Your Lenses
Alright, let's get down to it. This is the part that probably feels the most intimidating, but I promise it gets easier. We're going to break down how to put in your contacts into small, manageable pieces.
Don't aim for perfection on your first try. The goal is just to get comfortable with the process. Soon enough, this will feel as routine as brushing your teeth.
With your hands clean and dry, you’re ready to actually handle the lens. Gently slide one contact out of its case or the blister pack right onto the tip of your index finger. Be sure to use the soft pad of your finger, not your nail—lenses are delicate and can tear surprisingly easily.
Is Your Lens Inside Out?
Before that lens goes anywhere near your eye, you have to do a quick check to make sure it’s not inside out. This is a classic rookie mistake, and it's almost always the reason a new lens feels uncomfortable or won't settle right.
Luckily, there's an easy trick to tell.
Just balance the lens on the tip of your dry finger and take a look at it from the side.
- If it's correct, it will look like a perfect little bowl with the edges pointing straight up.
- If it's inside out, the edges will flare outwards, more like a soup plate with a rim.
If you see that flared edge, no problem. Just pop it into the palm of your hand with a drop of fresh solution and gently flip it over. This one simple check can save you a world of frustration.
The Insertion Technique
This is where your body's natural reflexes might kick in. It feels a bit strange at first, but with the right technique, you can easily work around that urge to blink. You'll use your non-dominant hand to create a wide-open landing zone for the lens.
Take the middle finger of your non-dominant hand and pull your upper eyelid straight up toward your eyebrow, pinning your lashes against the bone. This is key to stopping the blink. Next, use the middle finger of your dominant hand—the one holding the lens—to pull your lower eyelid down.
This two-finger hold is the secret. It creates a big target and basically overrides your blink reflex.
Look straight ahead in the mirror, or even slightly upward if that helps you. Bring the lens toward your eye slowly and steadily. Don't think of it as poking your eye; you're just gently placing the lens on the surface.
Lightly touch the lens to the colored part of your eye (the iris). The lens should grab onto the moisture and stick. The moment it makes contact, you can slowly pull your finger away.
Before you let go of your eyelids, look around—down, left, right. This little movement helps the lens settle perfectly into place. Now, slowly release your bottom lid, then your top lid. Blink a couple of times. Things might be a bit blurry for a second, but it should clear right up, and the lens should feel comfortable.
If you're using daily lenses, the routine becomes even simpler. You can read more about the advantages of disposable contact lenses and how they streamline daily wear.
This quick visual guide sums up the essential hygiene steps that come before you even touch a lens.
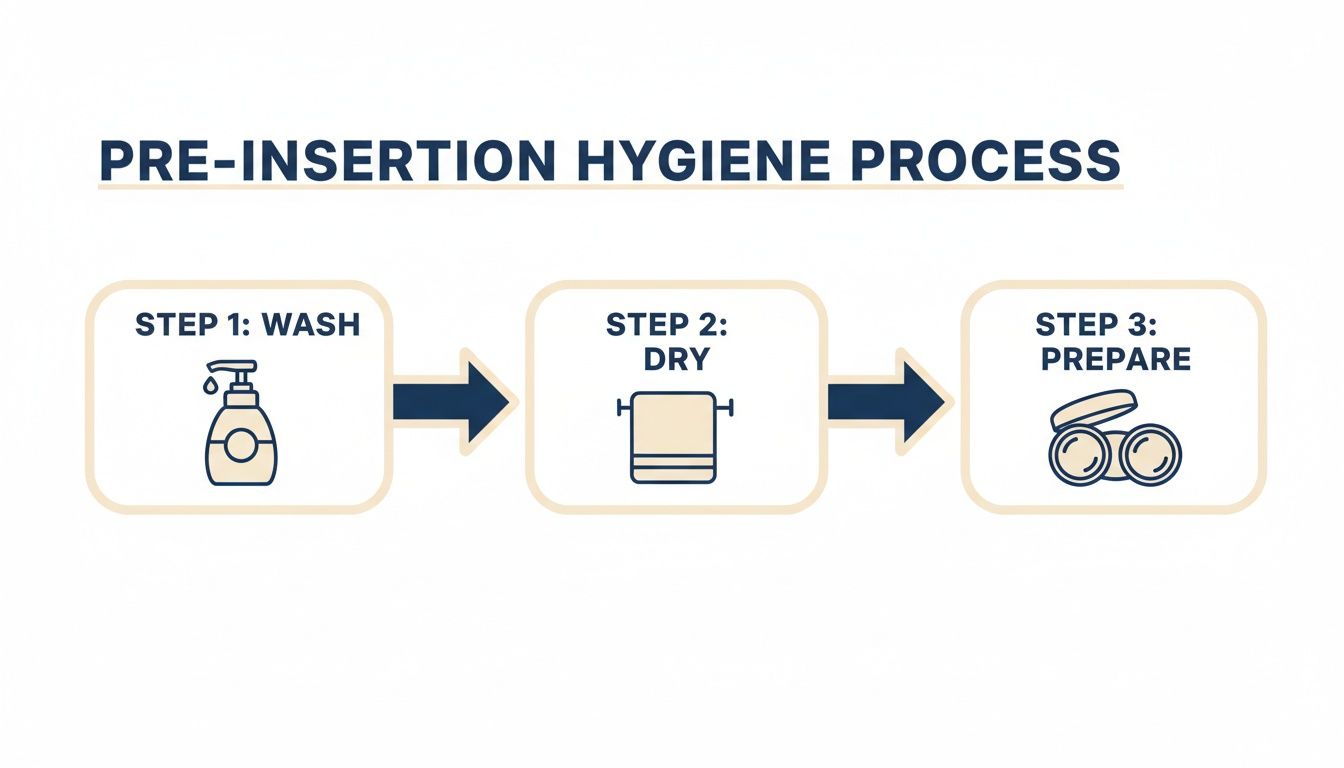
Nailing this simple three-step process every single time is the absolute best way to keep your eyes comfortable and healthy.
To make it even easier, here's a quick reference table you can glance at before you start.
Quick Guide to Contact Lens Insertion
| Action | Beginner's Tip | Why It's Important |
|---|---|---|
| Check Lens Orientation | Look for a perfect "bowl" shape. Flared edges mean it's inside out. | An inside-out lens will feel uncomfortable and won't sit correctly on your eye. |
| Secure Your Eyelids | Use two fingers to hold your upper and lower lids firmly against the bone. | This technique prevents your natural blink reflex from getting in the way. |
| Gentle Placement | Look straight ahead and slowly place the lens on your iris. Don't rush it. | A slow, steady motion gives you more control and prevents startling yourself. |
| Settle the Lens | Before releasing your lids, look down, left, and right. | This movement helps the lens find its natural center on your eye for clear vision. |
Think of this table as your pre-flight checklist. Running through these actions will help you build a solid, successful routine from day one.
Working Through Those First-Time Fumbles
Even with a perfect technique, hitting a few snags is a normal part of the learning curve. Think of it like learning to drive down Army Trail Road for the first time—it feels a bit clumsy initially, but you get smoother with every attempt. Don't let a small hiccup throw you off your game!
Most new wearers, from students at Glenbard North High School to adults all over Glendale Heights, run into the same handful of issues. Here’s how to calmly fix them and get on with your day.
The Lens Folds on Your Finger
This one is probably the most common frustration. You get the lens perfectly balanced on your fingertip, you bring it toward your eye, and then… it folds into a tiny, sticky mess. This almost always happens when your fingertip is too wet.
Here's the simple fix:
- Gently place the folded lens back in the palm of your other hand.
- Add a couple of drops of fresh contact solution.
- Carefully rub the lens with your finger until it flattens out.
- Give it a final rinse, shake off any excess liquid, and place it back on a dry fingertip before trying again.
It Feels Weird or Your Vision is Blurry
If you pop a lens in and it feels scratchy, pinchy, or your vision is foggy, something’s off. Don’t try to tough it out. It's usually one of three things:
- It’s inside out. An inside-out lens feels just plain wrong and might move around too much. Take it out, do the "taco test" to check its shape, and put it back in the right way.
- There’s debris on it. A tiny speck of lint or a stray eyelash can feel like a boulder under your eyelid. The solution is to remove the lens, give it a good clean with the "rub and rinse" method, and reinsert it.
- You mixed up your lenses. If you have a different prescription for each eye, it's surprisingly easy to mix them up. It happens to the best of us!
Remember, a correctly placed contact lens should be so comfortable you forget it’s even there. If you ever feel persistent pain or your eye looks red, take the lens out immediately and give your eyes a break.
What if the Lens Sticks to Your Eyelid?
Sometimes the lens misses the mark and ends up clinging to your upper or lower eyelid instead of your cornea. This isn't a big deal and is an easy fix.
First, stay calm. Close your eye and gently look in the opposite direction of where the lens feels stuck. For example, if you feel it high up under your top lid, look down toward your cheek. You can also very gently massage your eyelid with your eye closed to help slide it back into place. A few rewetting drops can also help it move more freely. For more detailed steps, check out our guide on what to do when a contact lens is stuck in your eye.
A common mistake new wearers make is skipping the "rub and rinse" step, which is a big deal because it removes up to 80% of bacteria. With over 40 million contact lens wearers in the U.S., proper hygiene is non-negotiable for keeping your eyes healthy.
Building a Healthy Contact Lens Routine
Alright, so you've successfully put your contacts in—great job! That's a huge milestone. But the habits you build after that first successful insertion are what really matter for keeping your eyes healthy and comfortable for years to come. It’s all about creating a smart, sustainable routine.
Getting your lenses out is a skill, just like putting them in. The best approach I've found is the "pinch" method. After a thorough hand washing, just look up, use your index finger to slide the lens down onto the white of your eye, and then gently pinch it out between your thumb and index finger. Easy.
The Rub and Rinse Rule
If you wear reusable lenses, cleaning them properly is non-negotiable. I've seen too many people think that just soaking them in solution is enough, but it really isn't. You have to physically remove the daily buildup of proteins and other gunk.
This is where the "rub and rinse" method comes in. It's the gold standard for a reason. Just put the lens in your clean palm, add a few drops of fresh solution, and gently rub it with your fingertip for about 15-20 seconds. Then, give it a good rinse with more solution before popping it in its case. For a deeper dive, check out our guide on the best way to clean contacts.
Modern lenses are thankfully much easier for beginners to handle, which is one reason their popularity is exploding. The global market is projected to jump from USD 17.94 billion in 2025 to USD 27.69 billion by 2034. It's a huge industry, fueled by people just like you who need reliable vision correction.
Respecting the Schedule
Your optometrist didn't pick your lens replacement schedule out of a hat. Whether they're dailies, bi-weeklies, or monthlies, that schedule is there for a reason. Sticking to it is one of the most important things you can do for your eye health. Stretching their use can deprive your cornea of oxygen, which can lead to some serious discomfort and even bigger problems down the line.
Give your eyes a rest. Think of it like this: even with the most advanced, breathable lenses, your eyes appreciate a break. Try to wear your glasses for a few hours in the evening to let your eyes breathe and recover.
And that brings me to my final point: always, always have a good backup pair of glasses. Life is unpredictable. You might tear a lens, develop an irritation, or just feel like giving your eyes the day off. Having a comfortable pair of glasses on hand—whether a luxury frame from Cartier or a classic pair of Ray-Bans—means you’re never caught without clear vision. It’s a simple habit, but it’s a cornerstone of being a responsible and happy contact lens wearer.
Your Contact Lens Questions Answered
Starting your journey with contact lenses always brings up a few questions. It's completely normal! Below, we’ve tackled some of the most common concerns we hear from new wearers at our Glendale Heights boutique.
Is it normal for my eyes to feel weird at first?
Yes, a slight awareness of the lens is normal for the first day or two. Think of it like breaking in new shoes; your eyes need time to adjust. What you should never feel is sharp pain, significant redness, or blurry vision. If discomfort persists, remove the lens. A professional fitting from the best optometrist in Glendale Heights ensures the lens size and material are perfect for you, making this adjustment period much shorter.
Can a contact lens get lost behind my eye?
This is a common fear, but it's physically impossible. A thin membrane connects your eyelid to your eyeball, creating a barrier. A lens might slide under your eyelid if you rub your eye, but it cannot get lost behind it. A few firm blinks or rewetting drops will almost always help it slide back into place.
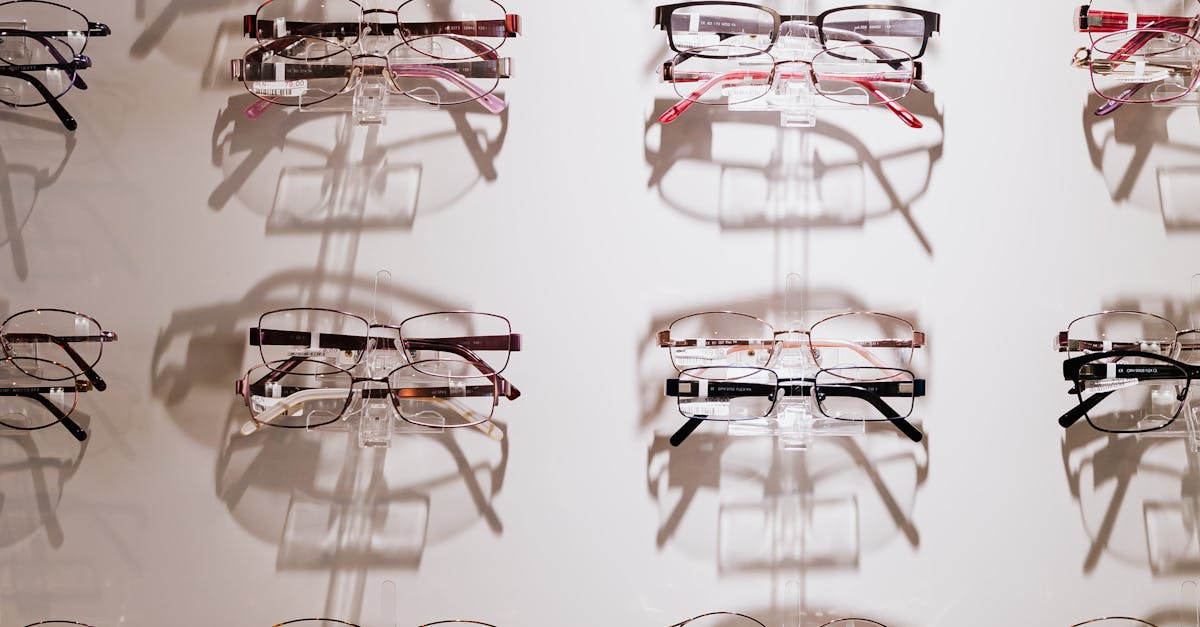
Where can I find designer eyeglasses in Glendale Heights?
While this guide focuses on contacts, having a stylish backup pair of glasses is essential. At iDoctor, we offer a curated selection of luxury eyewear from brands like Gucci, Tom Ford, and Prada, as well as affordable favorites like Ray-Ban and Kate Spade. We are the premier destination for designer eyeglasses in Glendale Heights.
Ready to see the world with clarity and comfort? The first step is a professional evaluation with an eye doctor in Glendale Heights. The team at iDoctor, conveniently located for residents near East Branch Forest Preserve and the surrounding suburbs, is here to guide you. Visit us online to schedule your comprehensive eye exam and contact lens fitting today.